Can LED Light Be Repaired? Yes, LED lights can often be repaired, especially when the issue is with the individual LED diodes or the driver. Despite their long lifespan, LED bulbs can occasionally burn out or malfunction due to various factors. Common problems include led lights flickering, dimming, or complete failure, often caused by issues with the diodes or circuitry. Understanding how to repair LED bulbs can help extend their lifespan and save you money. In this guide, we'll cover the most common LED bulb repair methods to address these issues at home.
Prerequisites for LED Bulb Repair
LED Bulb Components
To successfully perform an LED bulb repair, it’s important to understand what is led and its key components. An LED bulb consists of the following five components:
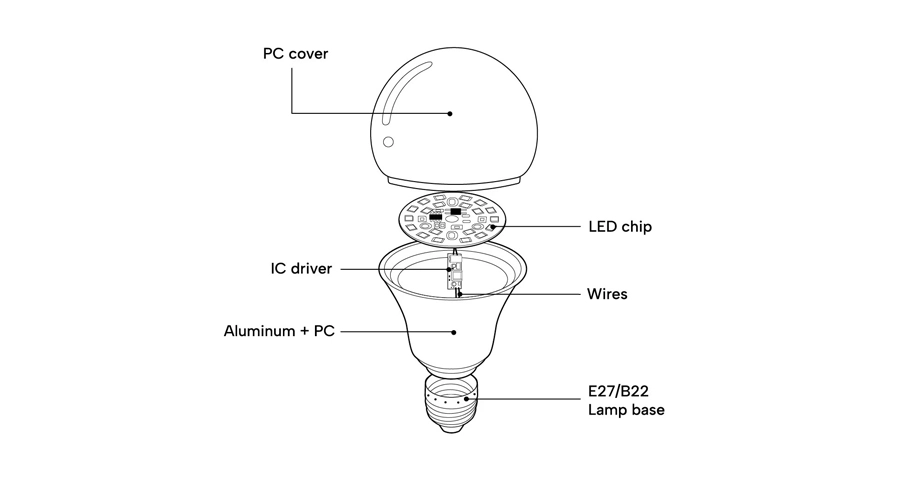
- PC Cover: This part covers the LEDs, softening and evenly distributing the light.
- LED Chip: The core component that emits light when electricity passes through. It consists of multiple diodes arranged on a chip.
- LED Driver: This converts the high-voltage electricity from the mains into the low-voltage current required by the LED chip to function.
- Heat Sink: A crucial part that helps dissipate heat from the LED chip, preventing overheating and ensuring long life.
- Coupling: This connects the bulb to the power source and ensures a secure electrical connection.
- Understanding these components is critical before starting any LED bulb repair.
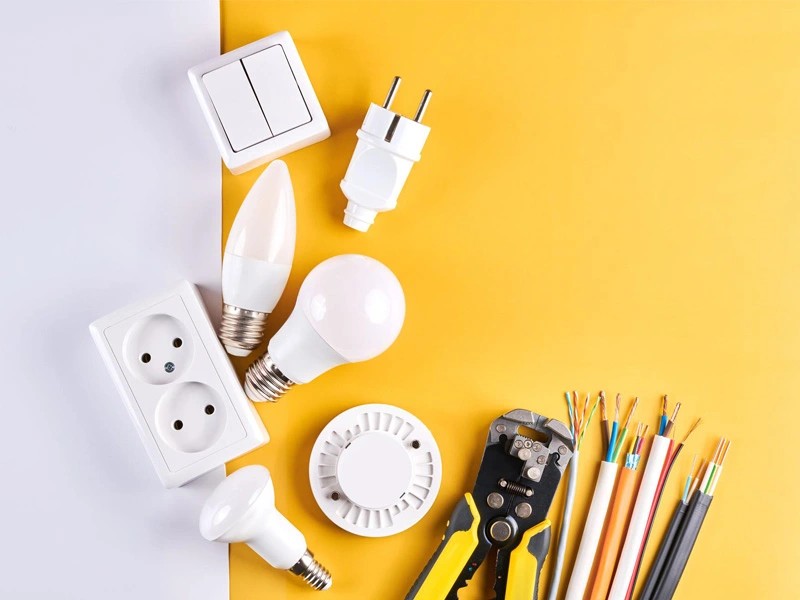
Tools Needed for LED light Repair
To effectively carry out an LED bulb repair, you’ll need the following tools:
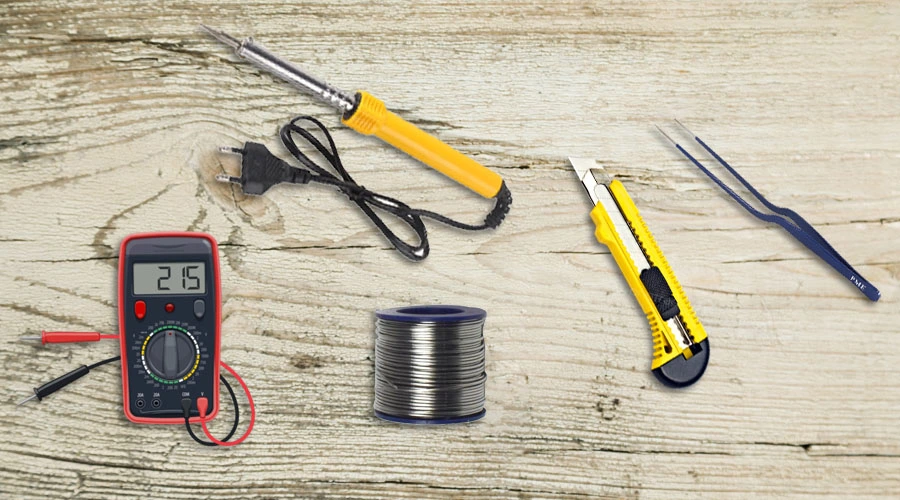
- Cutter: For trimming wires and cutting components as needed.
- Screwdriver: Essential for opening the bulb casing and accessing internal parts.
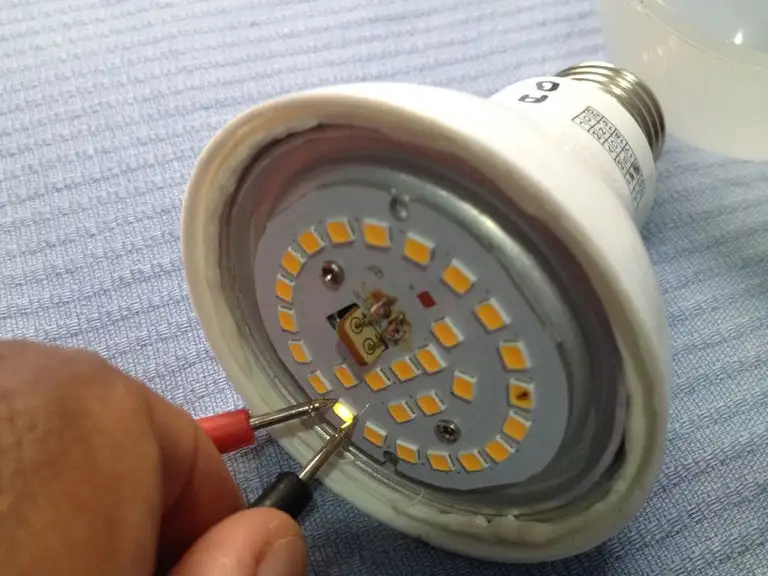
- Multimeter: Used to test electrical components, measure voltage, and check for continuity.
- Soldering Iron: For desoldering faulty components and soldering new ones in place.
- Solder Wire: Helps in attaching new components to the circuit board.
Step-by-Step Guide to How to Repair LED Bulbs at home
Power Off: Ensure the bulb is disconnected from the power source and wait for it to cool down.
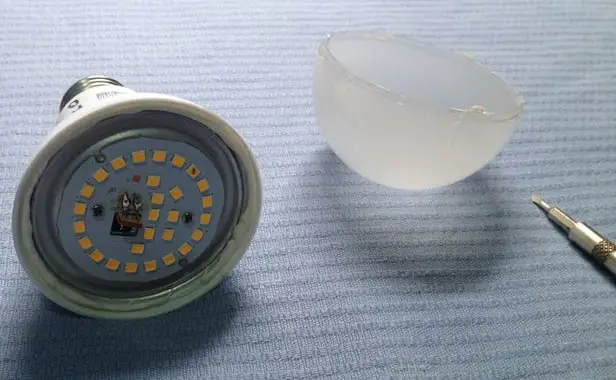
- Open the Bulb: Use a screwdriver to carefully remove the bulb casing.
- Inspect Components: Examine the internal parts—diffuser, LED chip, driver, heat sink, and coupling—for visible damage.
- Test with Multimeter: Check the LED chip and driver for electrical faults using a multimeter.
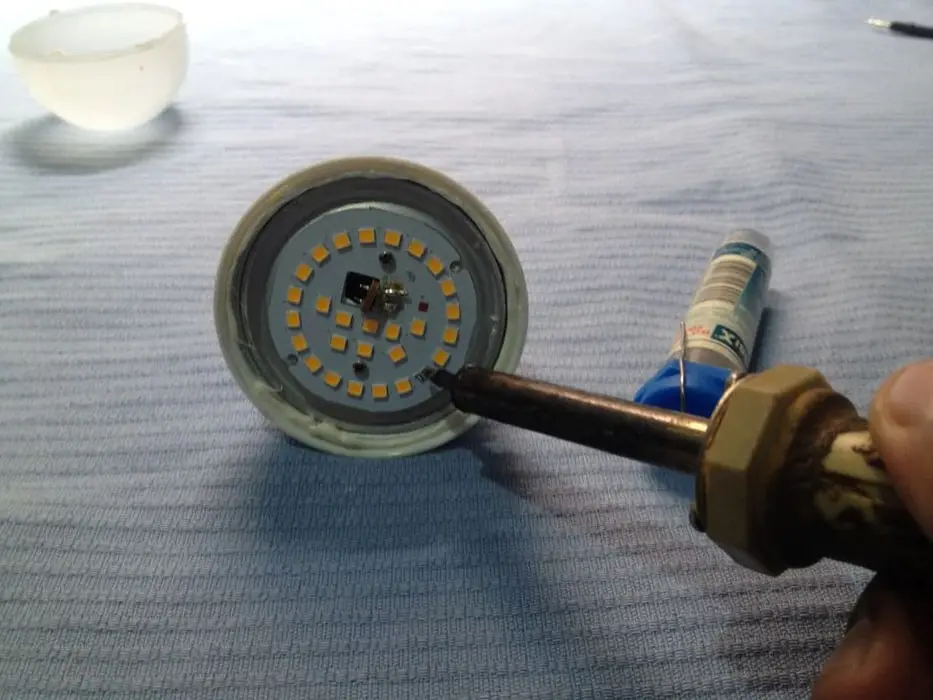
- Remove Faulty Components: Use a soldering iron and cutter to detach damaged diodes or parts.
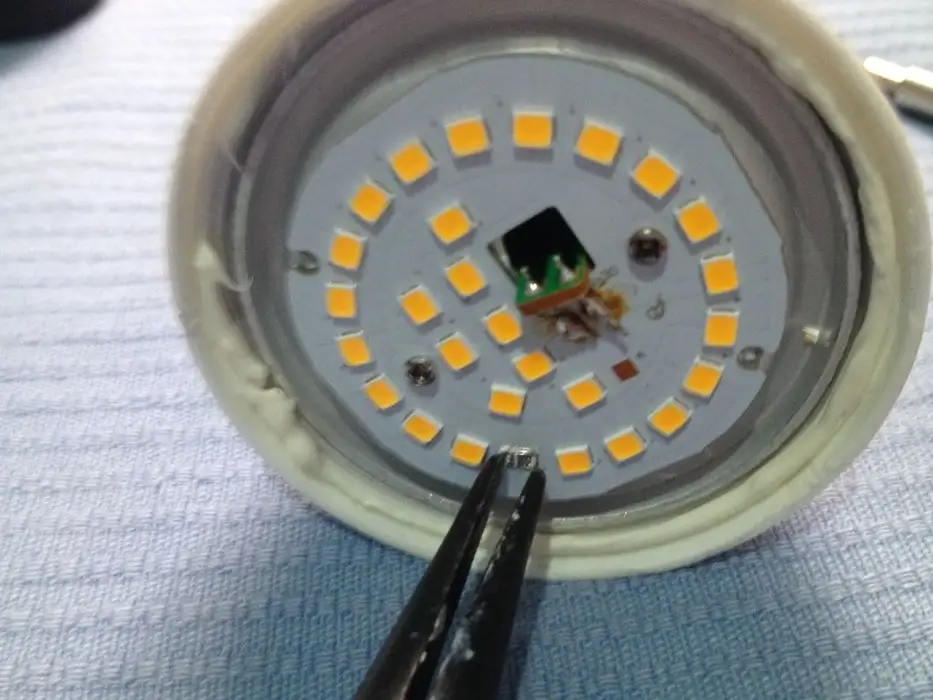
- Replace Damaged Parts: Solder in new components and ensure all connections are secure.
- Reassemble the Bulb: Carefully reattach the casing and ensure it is properly sealed.
- Test the Repair: Connect the bulb to the power source and check if it functions correctly.
Common Causes of LED Lamp Burning
- Low-Quality Lamp: Using cheap or poorly made LED lamps.
- Improper Circuit Design: Issues with lamps that use DOB (Driver on Board) technology.
- Poor Component Quality: Badly made LED chips, circuit boards, or other parts.
- Fake or Low-Grade Parts: Use of counterfeit or substandard integrated circuits (ICs).
- Incorrect Circuit Components: Using pins instead of proper ICs in the lamp’s circuit.
- Missing Heat Sink: Removing or not using a heat sink, which helps cool the lamp.
- Reduced Material Quality: Less aluminum in the lamp body or thinner components.
- Less Heat Transfer Glue: Insufficient glue to help manage heat.
- Improper Usage: Using the lamp incorrectly or in unsuitable conditions.
- Physical Damage: Damage from pressure or impacts.
- Dimmer Usage: Using a dimmer that isn’t compatible with the LED lamp.
- Wet or Extreme Environments: Using the lamp in wet conditions or extreme temperatures.
- Incorrect Voltage: Providing too high or too low voltage.
- Poor Ventilation: Using the lamp in a closed space with no airflow.
Why You Should Use the Warranty Instead of DIY Repair
While DIY repairs can be tempting, it's often better to utilize the manufacturer's warranty when dealing with LED lamp issues. Most LED bulbs, known for their long LED lifespan and efficiency in indoor lighting, come with a warranty that covers defects and malfunctions. This means you can often get a replacement or repair at no additional cost. Attempting a DIY repair might void the warranty or cause further damage, leading to more expenses. Additionally, professional repair or replacement ensures that the lamp is fixed according to safety standards, reducing the risk of electrical hazards. So, before diving into a repair, check if your LED lamp is still under warranty—it's a reliable way to address issues without the added risks of self-repair.